
Week 3 – Configuring Electrical for a Show-Stopping Vanity Wall!
How We Tackled the Challenge of Setting Up the Electrical for Our Master Bathroom’s Vanity Wall Complete with some Practical and Helpful Tips.
MY PROGRESS: WEEK 1 | WEEK 2 | WEEK 3 |
We’re in Week 3 of the One Room Challenge, having taken over our daughter’s old room and are transforming it into our small but dreamy master bathroom.
Setting up a stunning vanity wall in your master bathroom can be a game-changer, transforming an ordinary bathroom into a luxurious spa-like retreat. But configuring the electrical wiring for the lighting, outlets, and other components can be a daunting task, especially when working with tight spaces and complex design requirements.
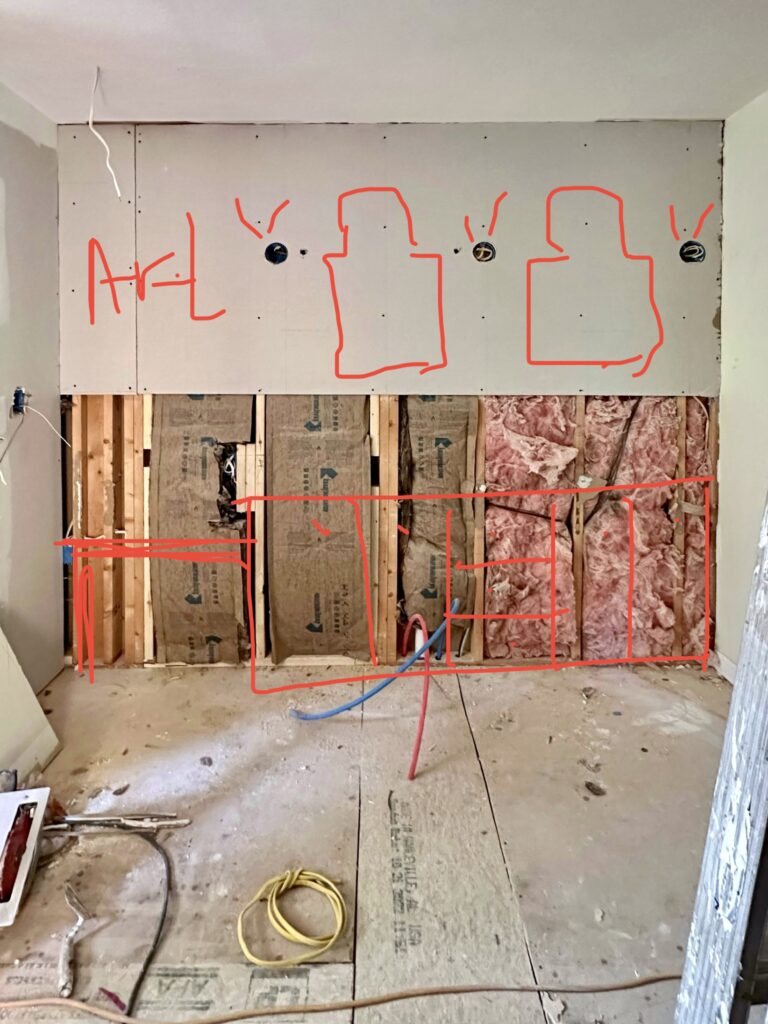
In a tight 9-foot space, we included a 2 1/2 foot make-up area with an “empty” wall space that will later house different artwork (you know, based on my seasonal whims).
That left us with just 75 inches or so to fit in 3 light sconces and 2 wall mirrors. After careful measuring and remeasuring, we found a way to incorporate all these wants for a knockout look without cramming up the space. We then ran the electricity to fit.
The next challenge: we are working blind!
After much deliberation (and searching high and low), RTA vanity cabinets were the best fit four semi-custom space. Problem is, they’re running behind on shipping and so we’re having to conceptualize the details and measurements only on paper, like how to incorporate a double-sink vanity with drawer storage in a 75-inch space and have them align with the electrical boxes we just added; ensuring the measured space we allotted for the mirrors aligns dead-center with the sinks; and well, would be nice if the plumbing aligned as well.

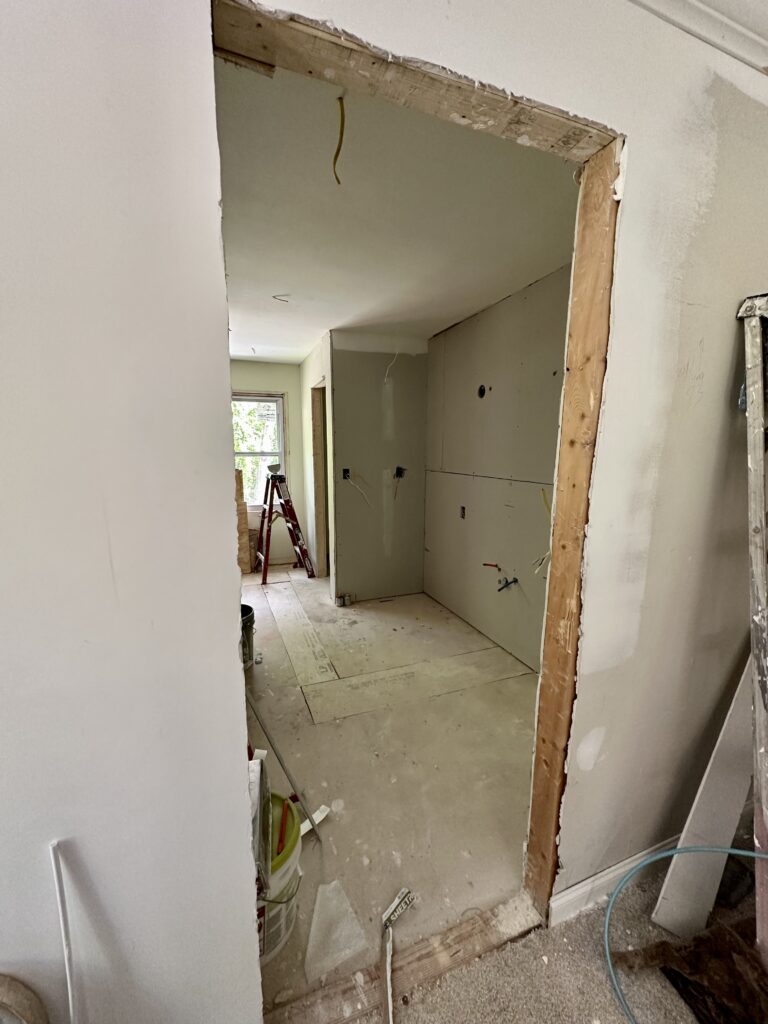
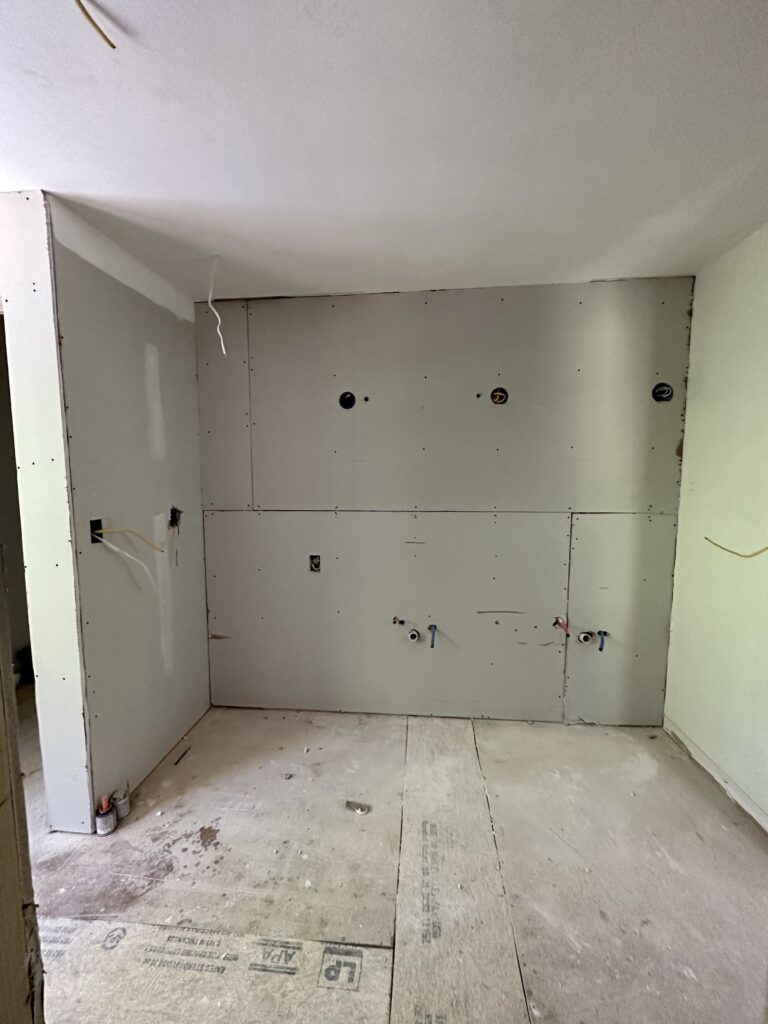
But this is a challenge and we have five weeks left so we’re forging ahead! The vanity wall (see images above) is closed and we spent yesterday taping and mudding. We also went ahead and dry-walled the framed-in secondary closet since all the plumbing is now complete and we could “close” the floor to get it ready for tile (hopefully next week)!
Practical tips?
- Wait until all your materials are on-hand. This helps you make less costly mistakes.
- If that option is not available, draw everything on paper or directly on the wall it self.
- Measure, measure and measure.
Where to buy it?
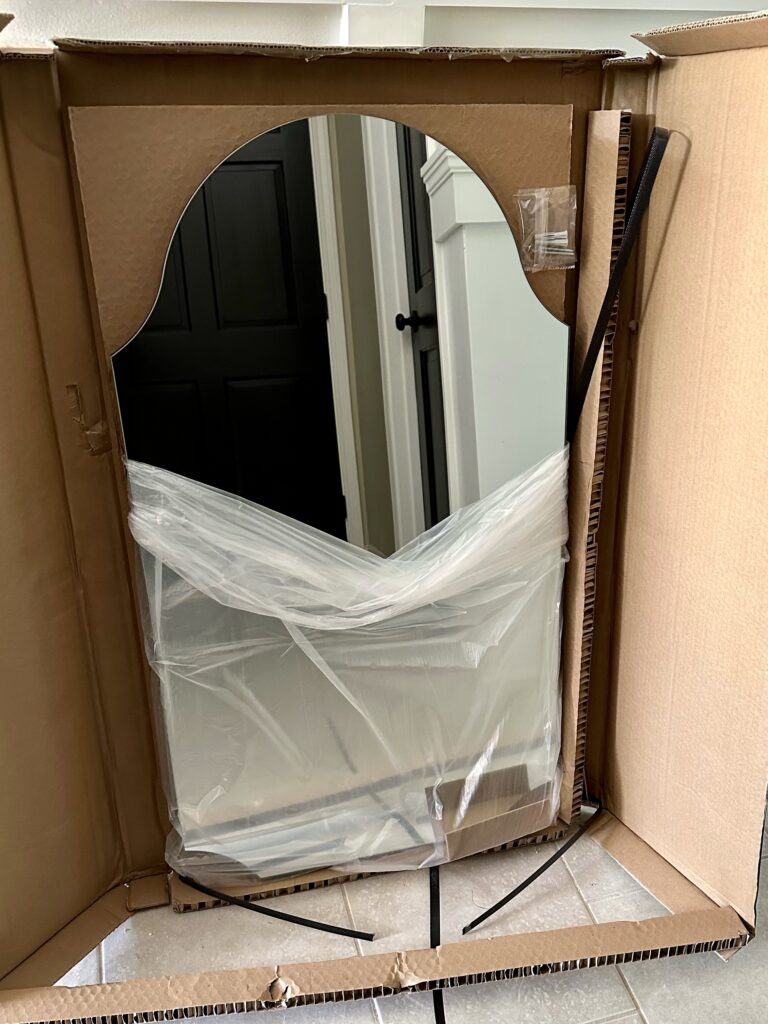
Vanity Mirros: https://rstyle.me/+71cTZNu-ulemczEVFukvIg
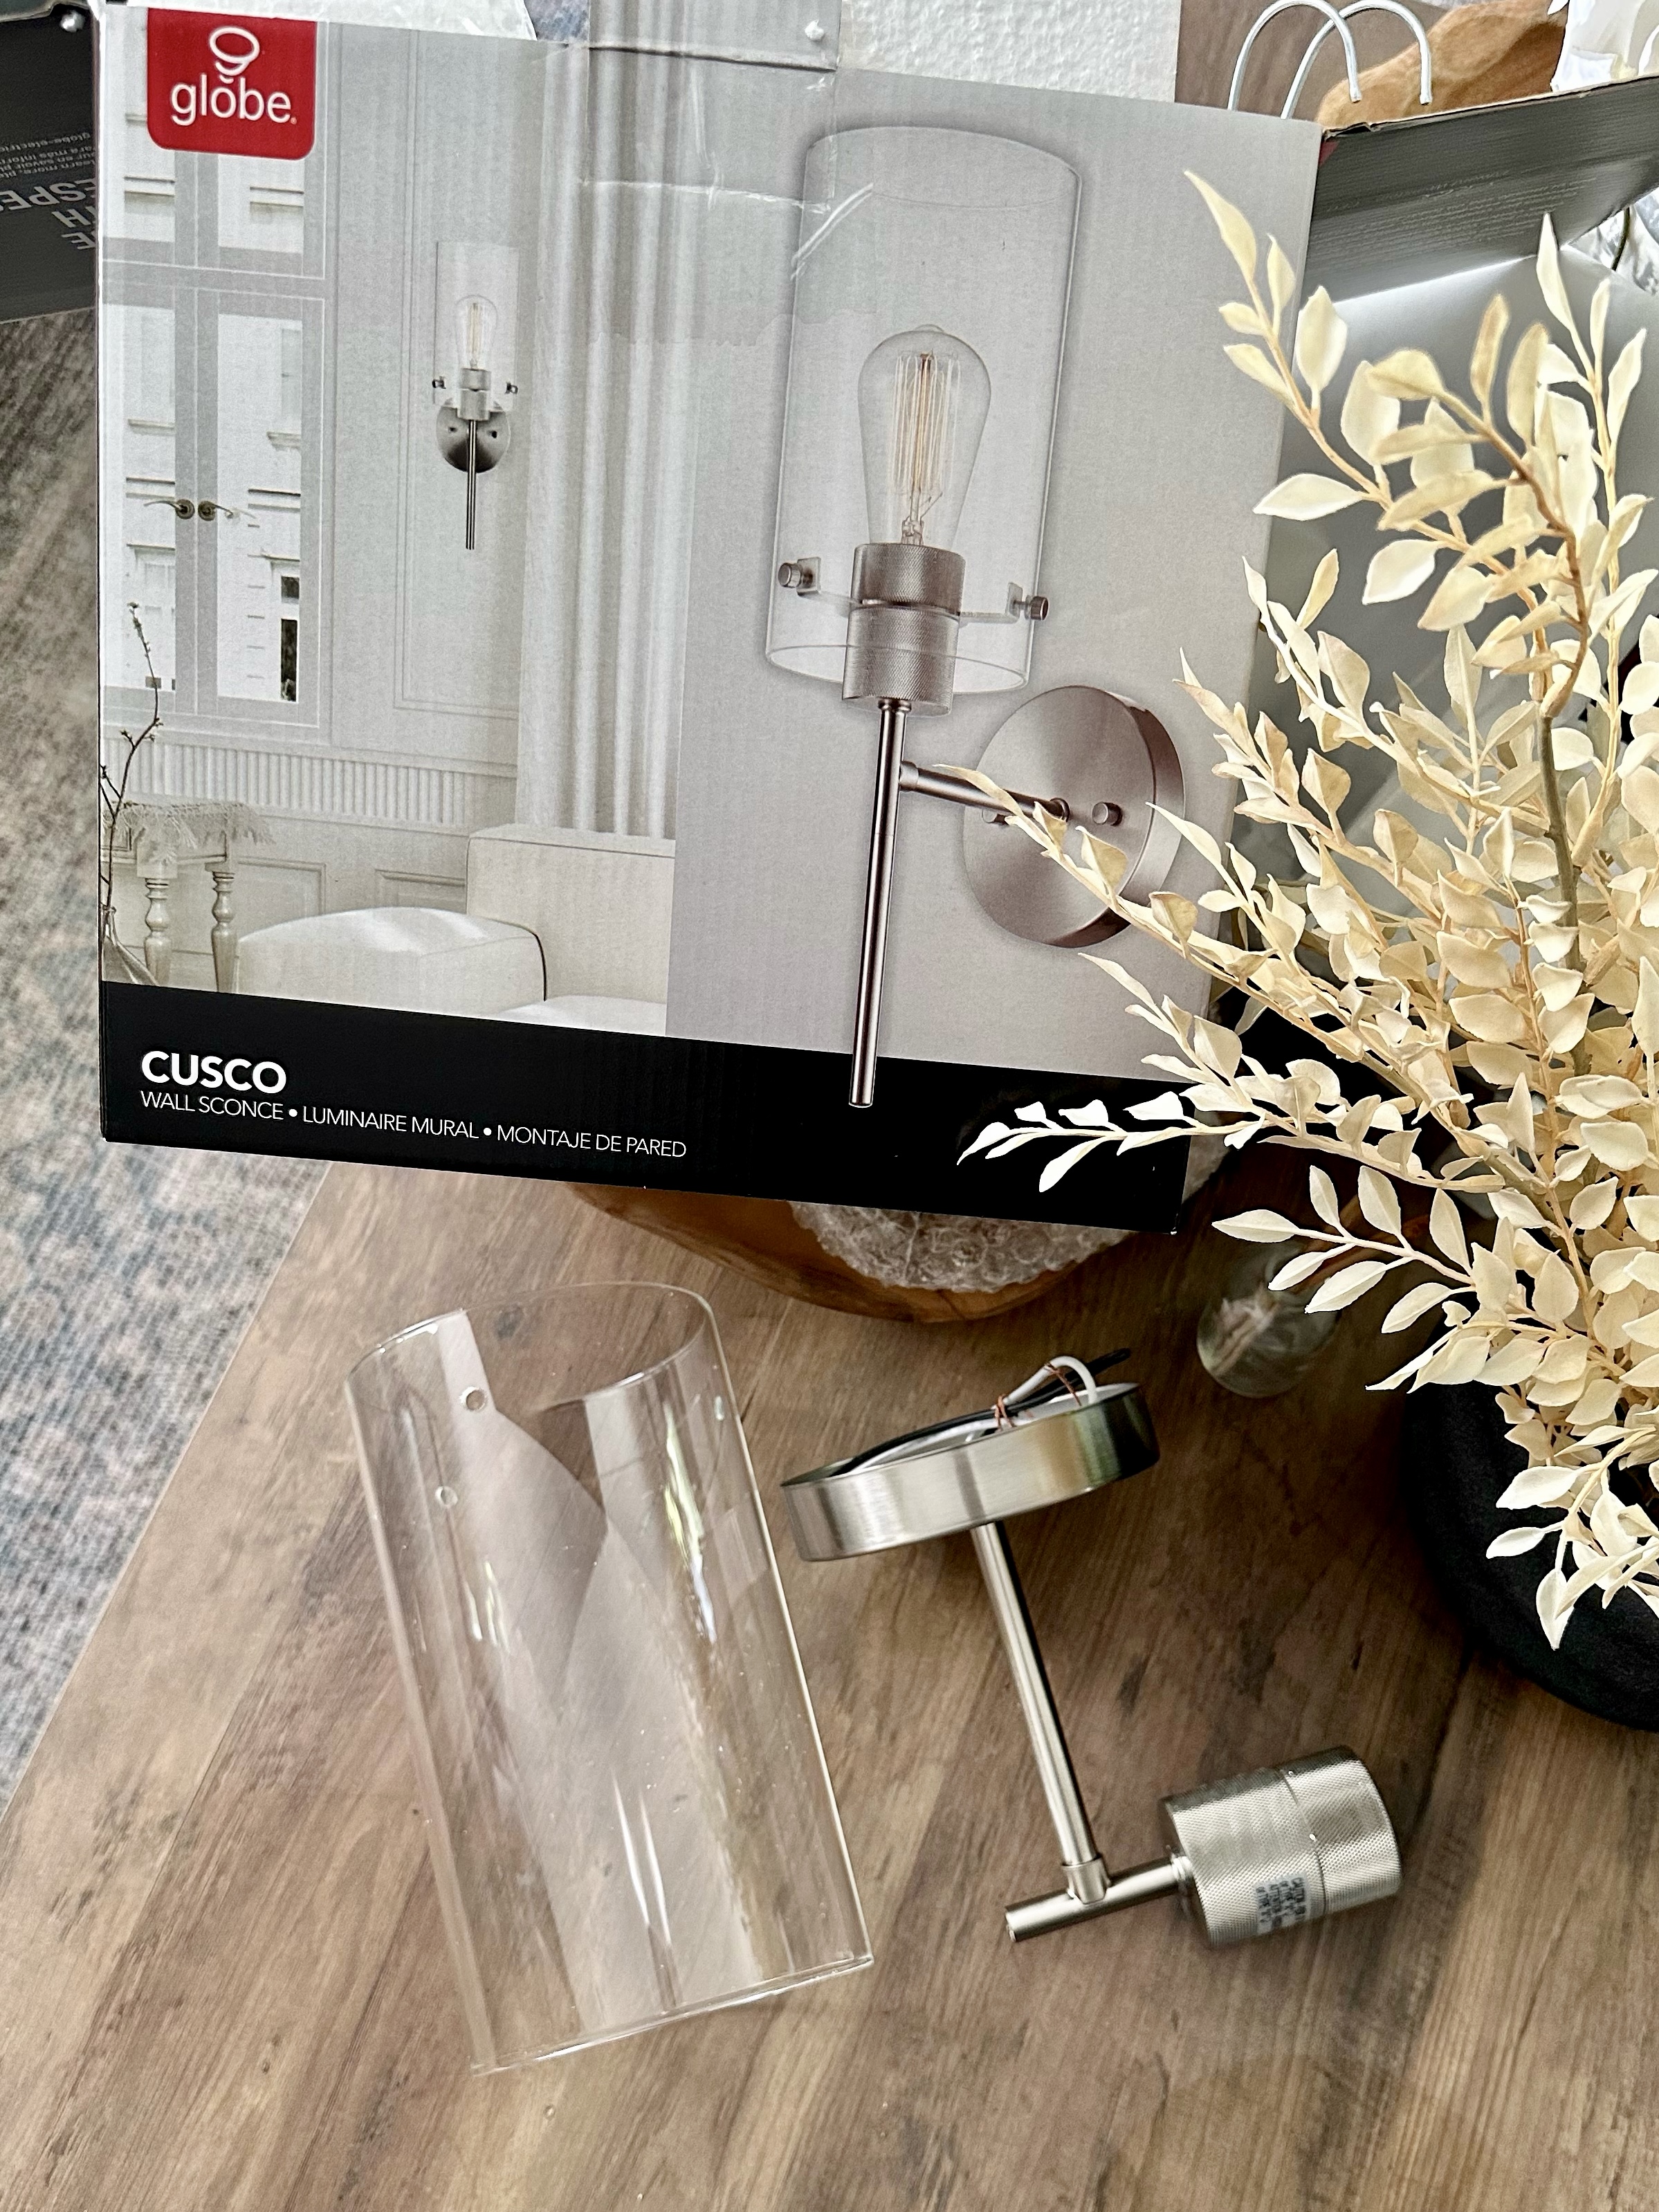
Brushed Nickel Wall Sconces: https://rstyle.me/+Lb5S3toUVN4JK1hJ8mhQMQ
Follow along as we document the weekly behind-the-scenes action, including demo, renovation, and all the ups and downs of converting a bedroom into a luxurious master bathroom.

I’m so glad you stopped by! Be sure to check in weekly on this blog for updates and also catch up on my daily lifestyle and home decor tips by following me on the gram @thefarafix