
DIY Walk-in Kitchen Pantry Update – Part 1
Tackling all the disorganization, the cans, boxes and bags that have taken over our kitchen pantry to create a clutter-free, functional, and even visually attractive storage space.
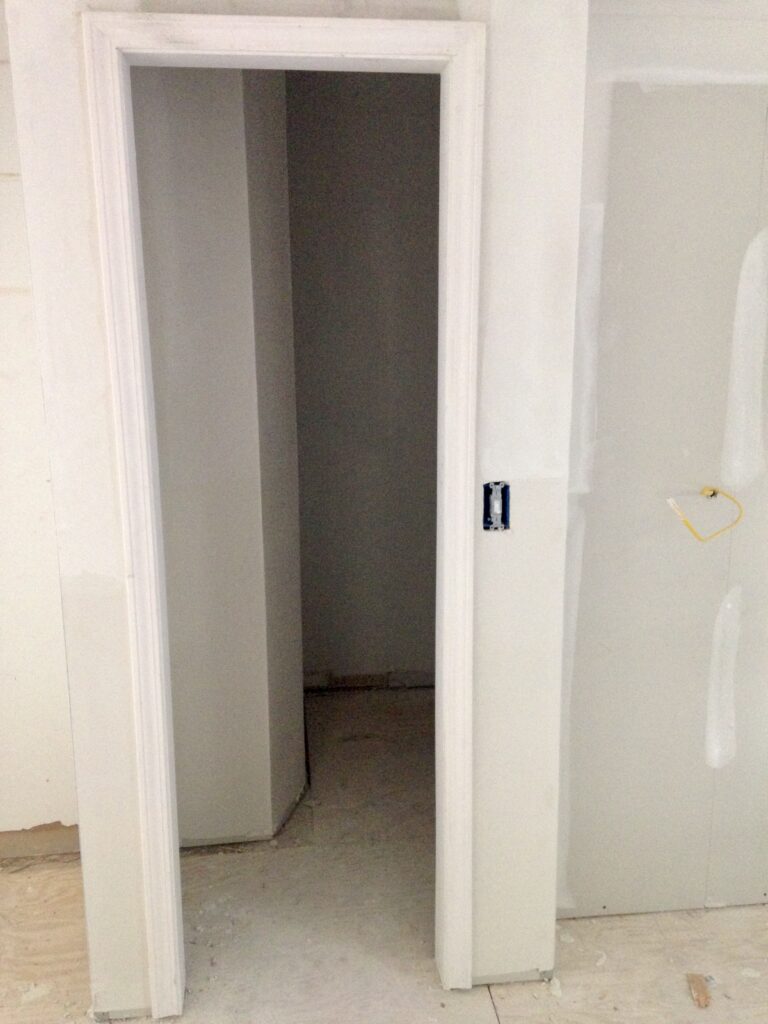
Back at it for One Room Challenge (hosted by Apartment Therapy). Week 3 is going down y’all – working on updating our small, 5 x 5 walk-in pantry and maximizing the space. We’re even adding a mini refrigerator to accommodate the overflow from our full-sized refrigerator.
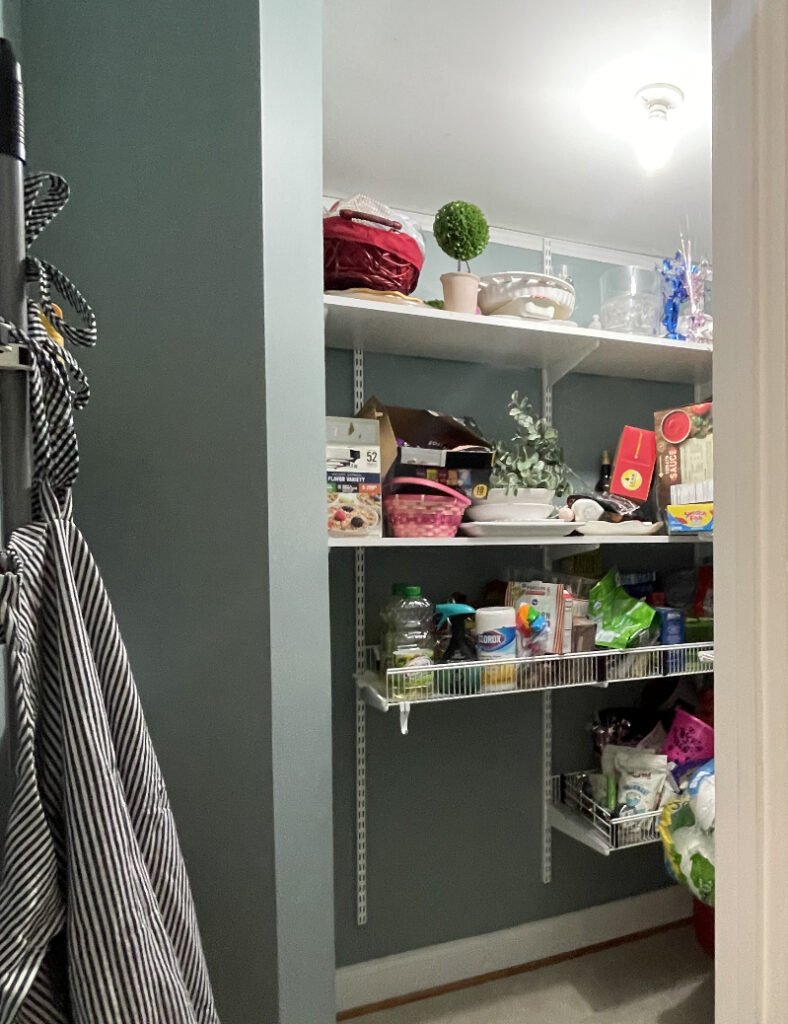
When we designed this pantry years ago, I could have done a better job organizing the space. Our pantry, while spacious enough considering the size of our open galley kitchen, quickly became a catch all for EVERYTHING. We had brooms, food, vacuums, dog food, extra dishes, small appliances and even a shelf with some of my home decor items. And so much unused space. In short, it was a hot mess (see photo below)!
So this time, I am focused on creating a space that really works for our family and creating shelving to maximize the space. To that end, I’ve measured our space and our current food and storage items to determine the correct spacing for each of our shelves.
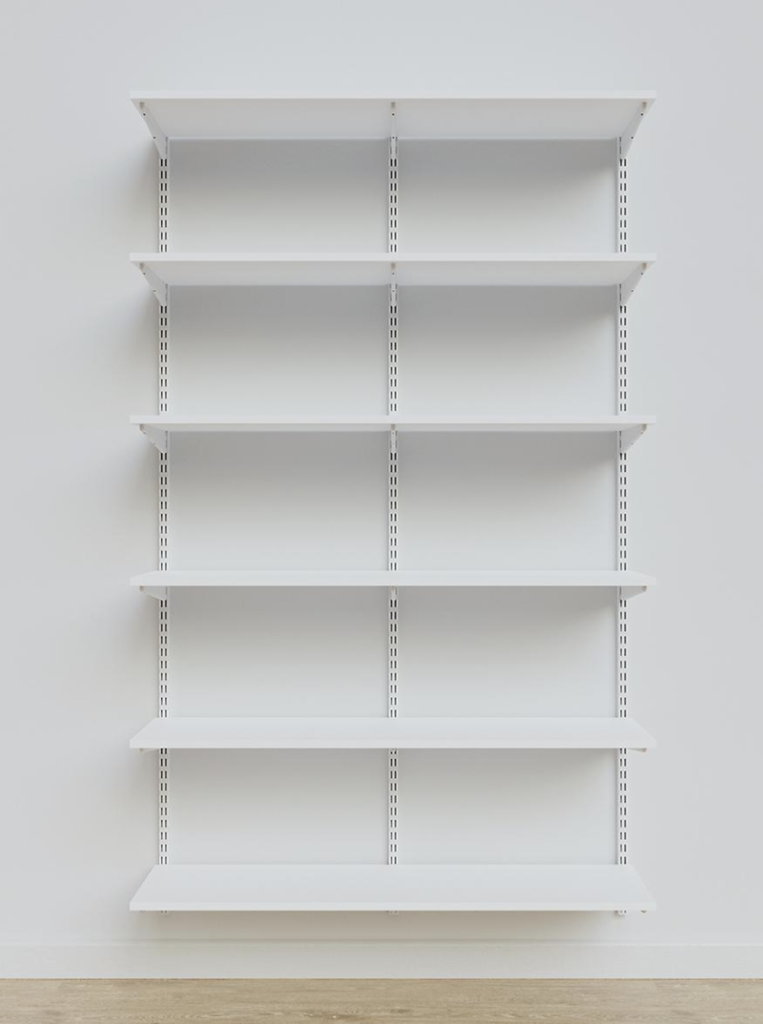
Starting from the bottom, I’m spacing the shelves about 16 to 18 inches apart and at 16 inches deep. This is where I’ll place my bulky items. The shelves above the mini fridge, at eye level will be mostly 16 inches high to fit cereal boxes and similar containers and baskets. Finally, I’m adding a couple of shelves closer to the ceiling for the least used items like serving platters, etc. at about 12 to 14 inches apart.
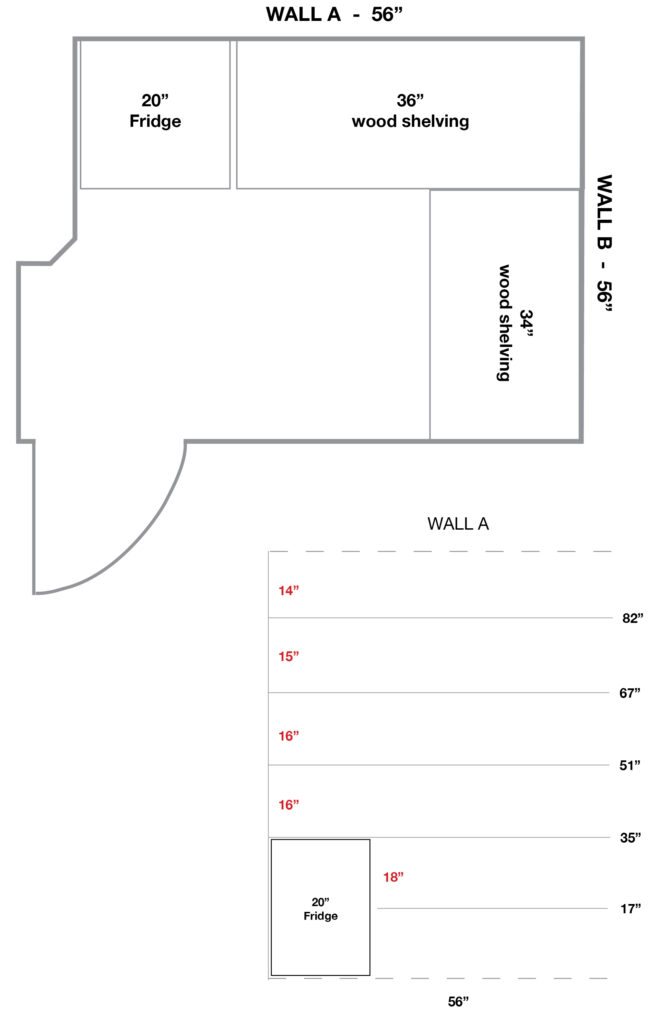
The shelves on Wall B will have slightly different height dimensions to accommodate taller bins and storage items and a kid-friendly shelf dedicated for the kids’ snacks at their height level.

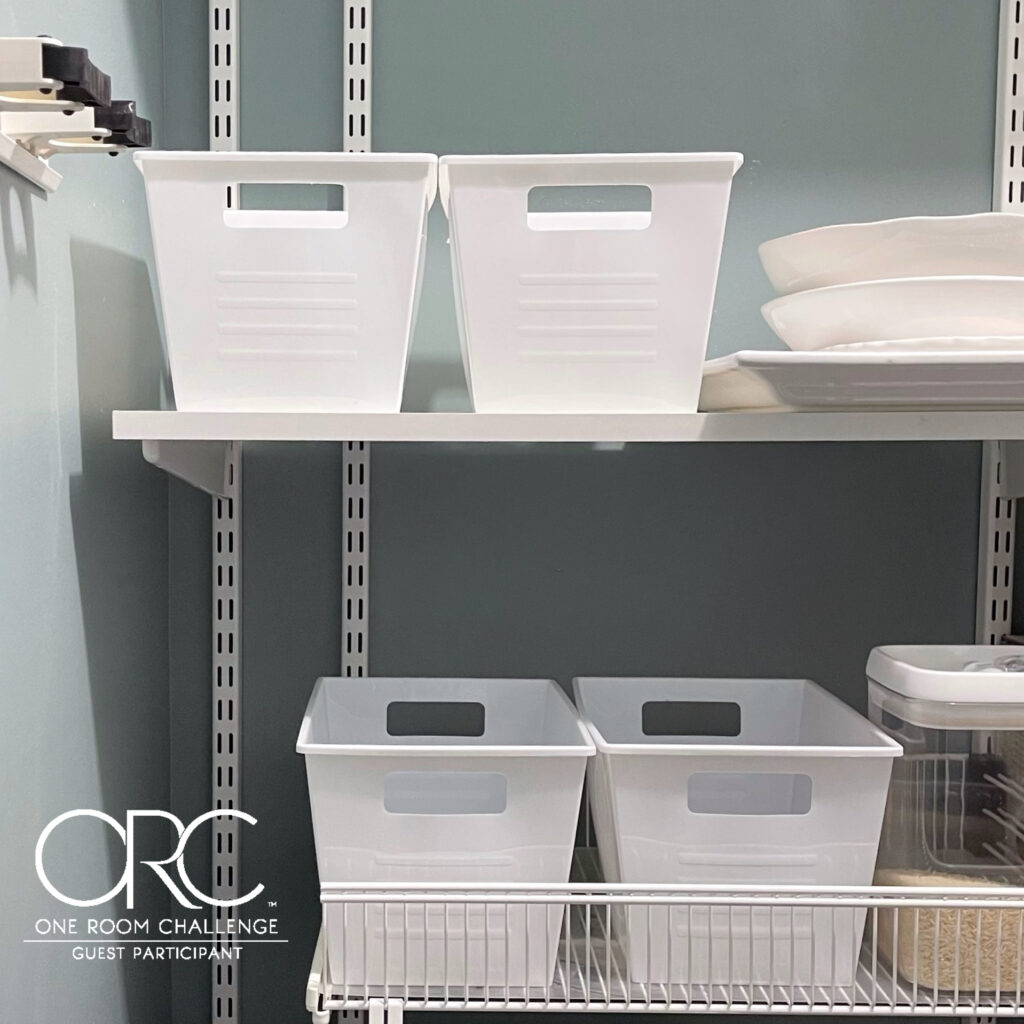
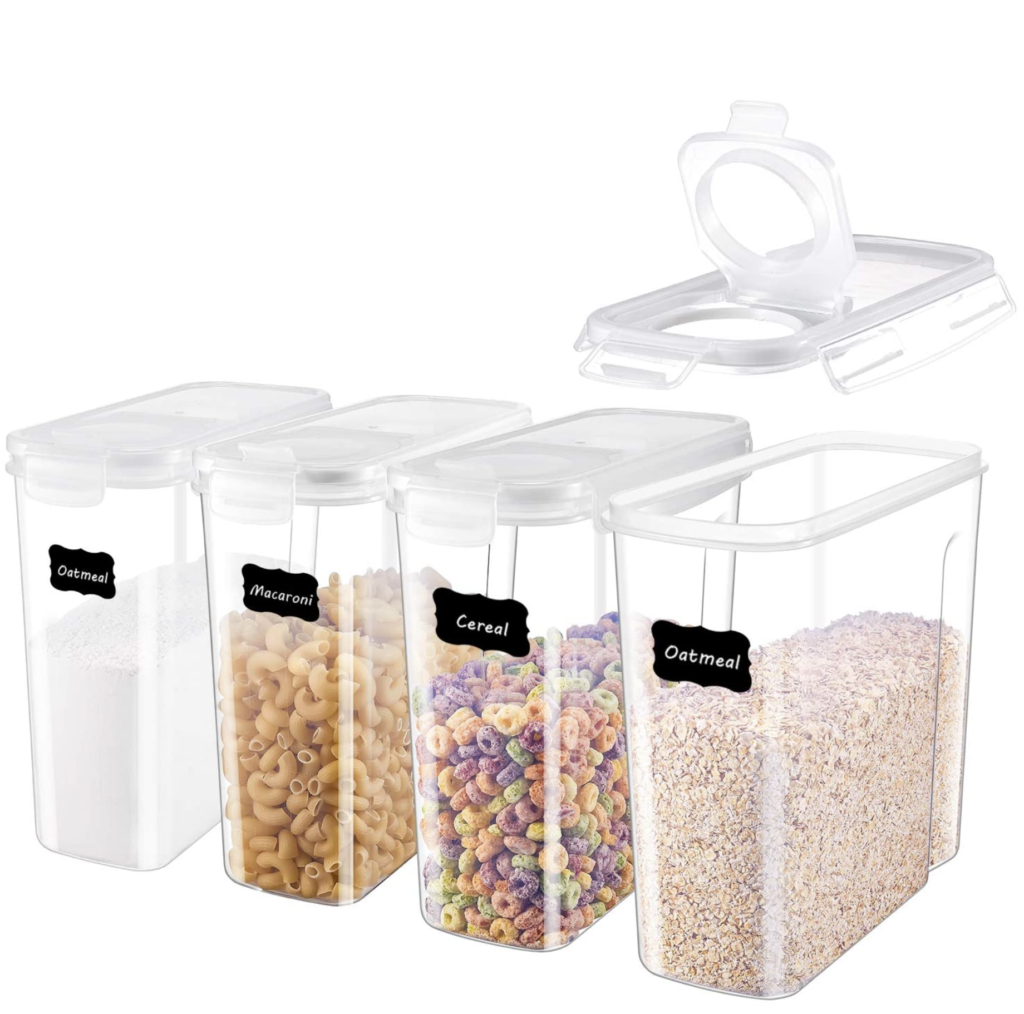
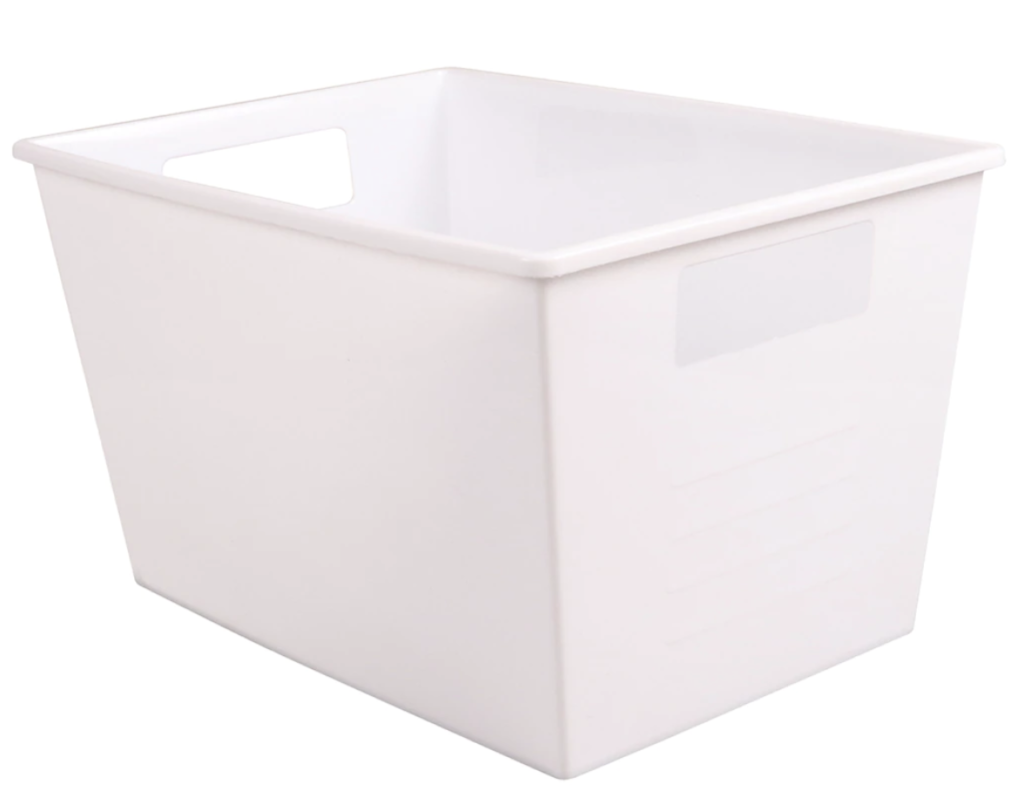
Below is a sneak peek of a few of the items I’m planning on using to organize our pantry. I am re-using some of our existing Elfa melanine shelves and ventilated shelves from The Container Store (easy on the budget) and adding new storage items from The Dollar Tree and Amazon.
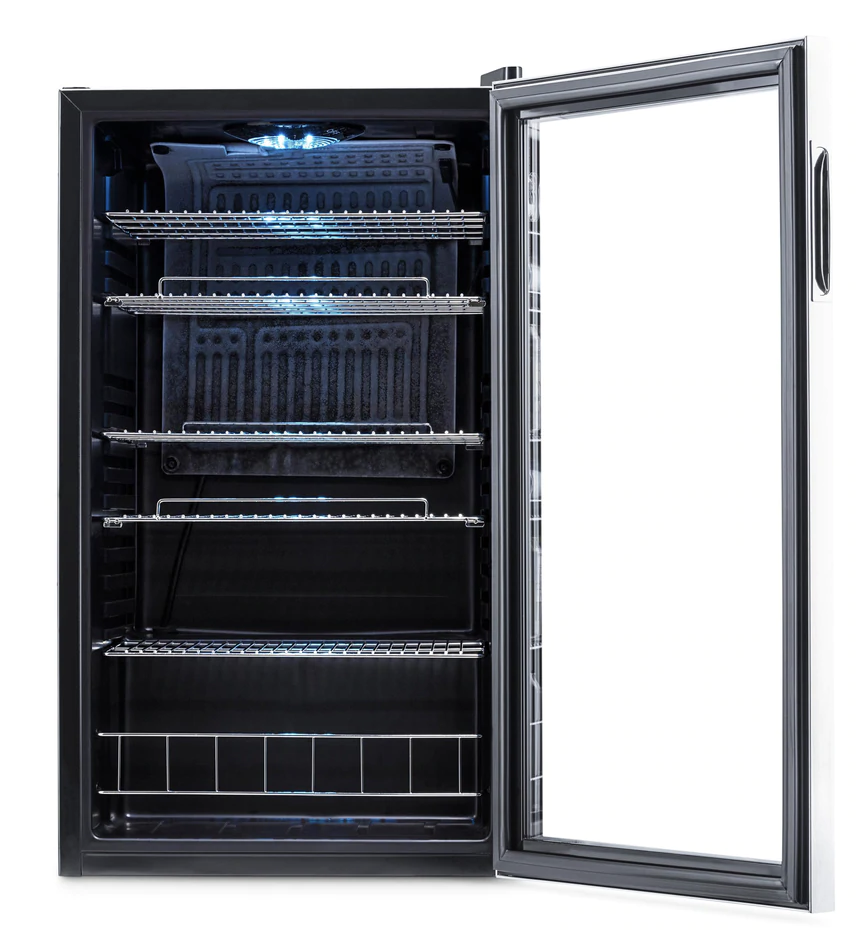
I’m also excited to add electricity (a couple outlets to be exact) and a mini fridge to our pantry. Our kitchen only allows for a counter-depth refrigerator so the extra room for water and the kids’ juices and soft drinks will be a welcoming addition.
I’m also still deciding where to add some of our daily, quick-cleaning products. I will pair them down to maybe one broom and our our mini vac. Decisions, decisions.
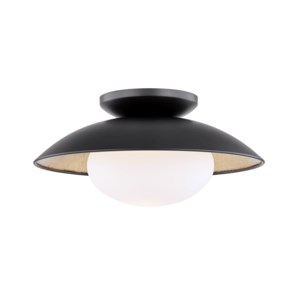
And speaking of electricity, I’m so happy to actually add a beautiful light fixture in our pantry instead of that single, struggle light bulb. This one is Cadence 1 Light Medium, flush mount from Mitzi!
Pantries are super practical and attractive additions to any home. When done well, they allow you to save money by stockpiling non-perishables. Can’t tell you how many times I’ve bulk-purchased Ketchup again because I couldn’t see what was in my pantry. Creating a visual center of your food stocks is a must.
Do you have any tips for me on what else I should include in my pantry update? Hope you’ll check back to see the finished pantry!

I’m so glad you stopped by! Be sure to check in weekly on this blog for updates and also catch up on my daily lifestyle and home decor tips by following me on the gram @thefarafix

One Comment